Black Ops 2 Pc How to Turn Aim Assist on
Now more than ever before, there is a robust set of options that impact how you see, hear and play Black Ops Cold War, from adding and removing aspects of the HUD to a multitude of sound mixing options.
As one of the most customizable Call of Duty games to date, Black Ops Cold War is focused on giving the player control over their experience through its Settings, which include detailed descriptions under each option to clear up any confusion on what each slider, toggle, or switch does.
No need to feel overwhelmed about this wide range of options: this guide covers the game's basic controls and describes each settings menu in general terms, laying out where you can find the options you want to tune. Keep this bookmarked just in case you forget where an option is or need a quick reminder on how to play the game.
For the PlayStation version of this guide, go here.
For the PC version of this guide, go here.
Gaining Complete Control
When using an Xbox Wireless Controller on default settings, its buttons have the following commands (these settings can be adjusted in the Controller Settings Options menu):
Left Stick – Move: Push this stick in any direction to have your character move around.
Left Stick (Press) – Sprint/Steady Aim:If you're maneuvering, press in the Left Stick while you move to sprint. Alternatively, while using scoped weapon such as a sniper rifle, pressing this button will make your Operator hold their breath, allowing for steadier aim.
Right Stick – Aim/Look:Push this stick in any direction to have your character look around or aim a weapon. This can be inverted within the Controller "Aim" menu.
Right Stick (Press) – Melee Attack: Press in the Right Stick to strike a foe at close quarters with a melee attack. In Campaign, holding this button triggers a Takedown.
A – Jump/Stand/Mantle: Jump across gaps, mantle over lower objects such as barriers or windowsills, and climb certain scenery using this button. The height of your jump may be influenced by your speed and the number of successive jumps you've taken. You can also use this button while crouching or prone to stand up.
B – Crouch/Prone/Slide: When moving under normal circumstances, you tap this button to crouch, and hold it to go prone, or tap it again to stand. If you're sprinting and hold this button, you'll slide into a crouch or a prone position if you keep holding the button (on the default sliding controls).
X – Use/Reload: If you need to access a context-sensitive object (like opening a door in Fireteam instead of charging through it), or you're low on ammunition and wish to reload your weapon, utilize this button.
Y – Switch Weapon:Depending on how and when this button is pressed, this button has more than one function. Tapping the button will swap the weapon in your hands, whether it be a primary to a secondary weapon, vice versa, or any weapon you've picked up during a match.
LB – Tactical Equipment: This utilizes the lethal equipment from your loadout, such as a Frag Grenade.
RB – Lethal Equipment: This utilizes the tactical equipment from your loadout, such as a Flash Grenade.
LT – Aim Down Sight: This narrows the field of view to focus on a specific target for more precise gunfights. Additionally, ADS zooms into your equipped sights (reticle or native).
RT – Fire Weapon: This fires projectiles from your weapon's chamber. Pay attention to your weapon's firing mode description – single, burst, or fully-automatic – as you may need to press this trigger multiple times for continuous firing.
D-pad Left – Ping: Press this key to "Ping" a spot in the environment, allowing you to communicate with squadmates without talking. Pressing this key twice makes this a "Danger" Ping, alerting your squad of potential hostile presence.
D-pad Right – Scorestreak: This button engages your currently selected Scorestreak, which is shown in a column on the bottom right side of the screen above your weapon information.
D-pad Up / Down – Scorestreak Selection (Up and Down): If you earned multiple Scorestreaks and wish to use one before another, use these two buttons to "cycle" through the Scorestreak column.
View – Scoreboard/Objectives (In-Game): Press this to check the scores for yourself, your team, and your rivals, as well as other pertinent data relating to the Multiplayer or Zombies game mode. In Multiplayer, you can tab over to see a full version of the map you're playing on. In Campaign, this will remind you of the mission objective and, if it has a marker or waypoint, makes it reappear on screen.
Menu – Objectives (Menu)/Menu:Pressing this button brings up your Settings menu. In addition, you can view your current objective, access Social options, change your loadout in Multiplayer (which takes effect after your next death), and enter the robust Options menu to change every aspect of the control scheme. Pressing this button again dismisses this menu.
Settings Overview
Black Ops Cold War includes a slew of customization options to make it feel comfortable in your hands.
Below is a general idea of the settings you'll find in each menu, starting with Controller settings and followed by other menus shared between platforms.
Controller
This menu is broken down into three subsections after Input Device: Controller, Gameplay, and Advanced.
The first subsection is where you can adjust horizontal and vertical look sensitivity on a 14-point scale, including values within half and quarter increments (e.g. 0.25 and 11.5). These options impact how fast or slow your operator is looking along the X and Y axis, respectively. A high sensitivity allows for quicker turns and may be ideal for those who can manage precision through micro-adjustments. A low sensitivity could be great for those who find making precise shots easier at slower speeds. There are also two more sliders that adjust look speed while aiming down sights with scopes that zoom with low and high magnification.
Below these settings is a Button Layout drop-down menu, which offers nearly a dozen pre-mapped button configurations to choose from. You can also flip the Bumper and Trigger Buttons, Invert Vertical Look, enable Controller Vibration, activate Trigger Effects for Impulse Triggers, and adjust the intensity of all vibration and trigger effects.
The Gameplay subsection covers Aim Down Sight Aim Assist for Campaign and Zombies, as this option is always disabled in Multiplayer. Following this is Slowdown & Strafing Aim Assist, which changes movement and sensitivity when your aim is on an enemy target. This is followed by Mantle Behavior Options while in the air (Automatic or Manual) and grounded (On Press or On Second Press), the ability to set Aim Down Sight and Steady Aim to a Hold or Toggle, and change Attack Vehicle Control Mode to either Aim-Based (will move in the direction you are looking at) or Alternate, which allows you to turn left and right using the Movement Stick.
Along with Stick Layout, which offers multiple preset layouts, the Advanced section of this menu includes the following settings:
Min Input Threshold: This determines how far the stick needs to be pushed in order to register minimum and maximum inputs. Increasing minimum inputs can help combat stick drift, while decreasing it can help subtle movements register more clearly.
Controller Sounds: Allows you to turn Controller Sounds on and off.
Auto Move Forward: Enabling this lets you push the movement stick forward twice in quick succession to continuously move forward. You stop whenever you pull the stick back.
Auto Sprint: When enabled, pressing forward makes your character sprint immediately, rather than requiring an additional button press. Recommended for players who like to play at a fast pace.
Sprint Behavior: A toggle between two options for how sprinting is activated: Hold, which is pressing and holding the movement stick to sprint (release to stop), or Toggle, which is simply pressing the movement stick to sprint and pulling the stick back from its forward position to stop.
Sprint Cancels Reload: When enabled, sprinting will interrupt the reload cycle. Disabling this will allow sprinting while reloading. Having sprint cancel the reload animation can be useful in situations where an enemy appears while you are still reloading.
Parachute Auto Deploy (Multiplayer): In game modes with parachutes, such as in Fireteam, enabling this setting will automatically deploy your chute whenever your Operator is close to a surface. Disabling this is recommended for those skilled enough to manually activate their chute at levels below Auto Deploy distances, but comes with the risk of in-game death.
Equipment Behavior: Choose how you use equipment out of two options: either pressing and holding to take out equipment, and releasing to throw it (Hold), or pressing the button once to take out equipment, and then pressing again to throw it (Toggle).
Interact/Reload Behavior (Multiplayer/Zombies): Determines how the Interact/Reload button (X) works. You can either Tap to Reload (hold to Interact), Tap to Interact (hold to Reload), or Prioritize Reload and Interact, ideal for those not wanting to hold this button as often. In cases when both options are available, the game will "prioritize" the chosen action, making Reloading or Interacting accessible via tapping, and the other accessible via holding the button.
Armor Behavior (Multiplayer): Determines whether holding the command to equip Armor in Fireteam is done one at a time (Apply One), or continues the animation until you have full Armor or run out of Armor Plates (Apply All).
Graphics
This menu covers all options related to visuals in-game.
First is Safe Area Bounds, which should be adjusted to fit the whole game on your screen. Next is the Colorblind Modes accessibility option, which includes the ability to customize it to your condition.
Then there is the Field of View slider – pushing this to the maximum of 120 allows for greater peripheral vision but might result in graphical issues and a lower framerate depending on your display device or platform. When pushed to its lowest limit, your view will be more focused, making objects on your screen appear larger at the sacrifice of peripheral vision.
There is also the ability to adjust Brightness, change Splitscreen Orientation, activate Ray Tracing, which allows for more realistic shadows, and change Motion Blur.
Audio
Just like the customizations for graphics and controls, Black Ops Cold War offers a variety of Audio options.
In the Game Sound section, you can find the option to mute all game sound outside of Voice Chat, sliders for Master Volume as well as Music, Sound Effects, Dialogue, and Cinematics, and a toggle for Hit Marker Sound Effects. This section also includes audio presets, which are:
· Treyarch Mix – Developer recommended sound mix set by default.
· Flat – Does not add any frequency bias to the sound mix.
· Headphones – Recommended for headphone users.
· Vocal Clarity – Recommended for those who have trouble hearing dialogue, even with adjusted sliders.
· Quiet – Softens all sounds while still maintaining range. Recommended for playing without headphones at night when maintaining a low profile out of game is key.
· Bass Boost – Reinforces low-end frequencies to make the game sound fuller.
· Super Bass Boost – Significantly reinforces low-end frequencies.
· High Boost – Reinforces high end frequencies by way of cutting lower end frequencies, making the game sound brighter and certain sounds, such as footsteps, easier to pick out.
The Voice Chat category covers microphone audio, as well as audio from game and party chat. Go here to adjust Voice Chat Volume, Open Mic Sensitivity and Microphone Volume. You can also limit conversations to just your Party rather than the whole Game Chat through the Voice & Text Channel Toggle, as well as turn Voice Chat off all together.
Interface
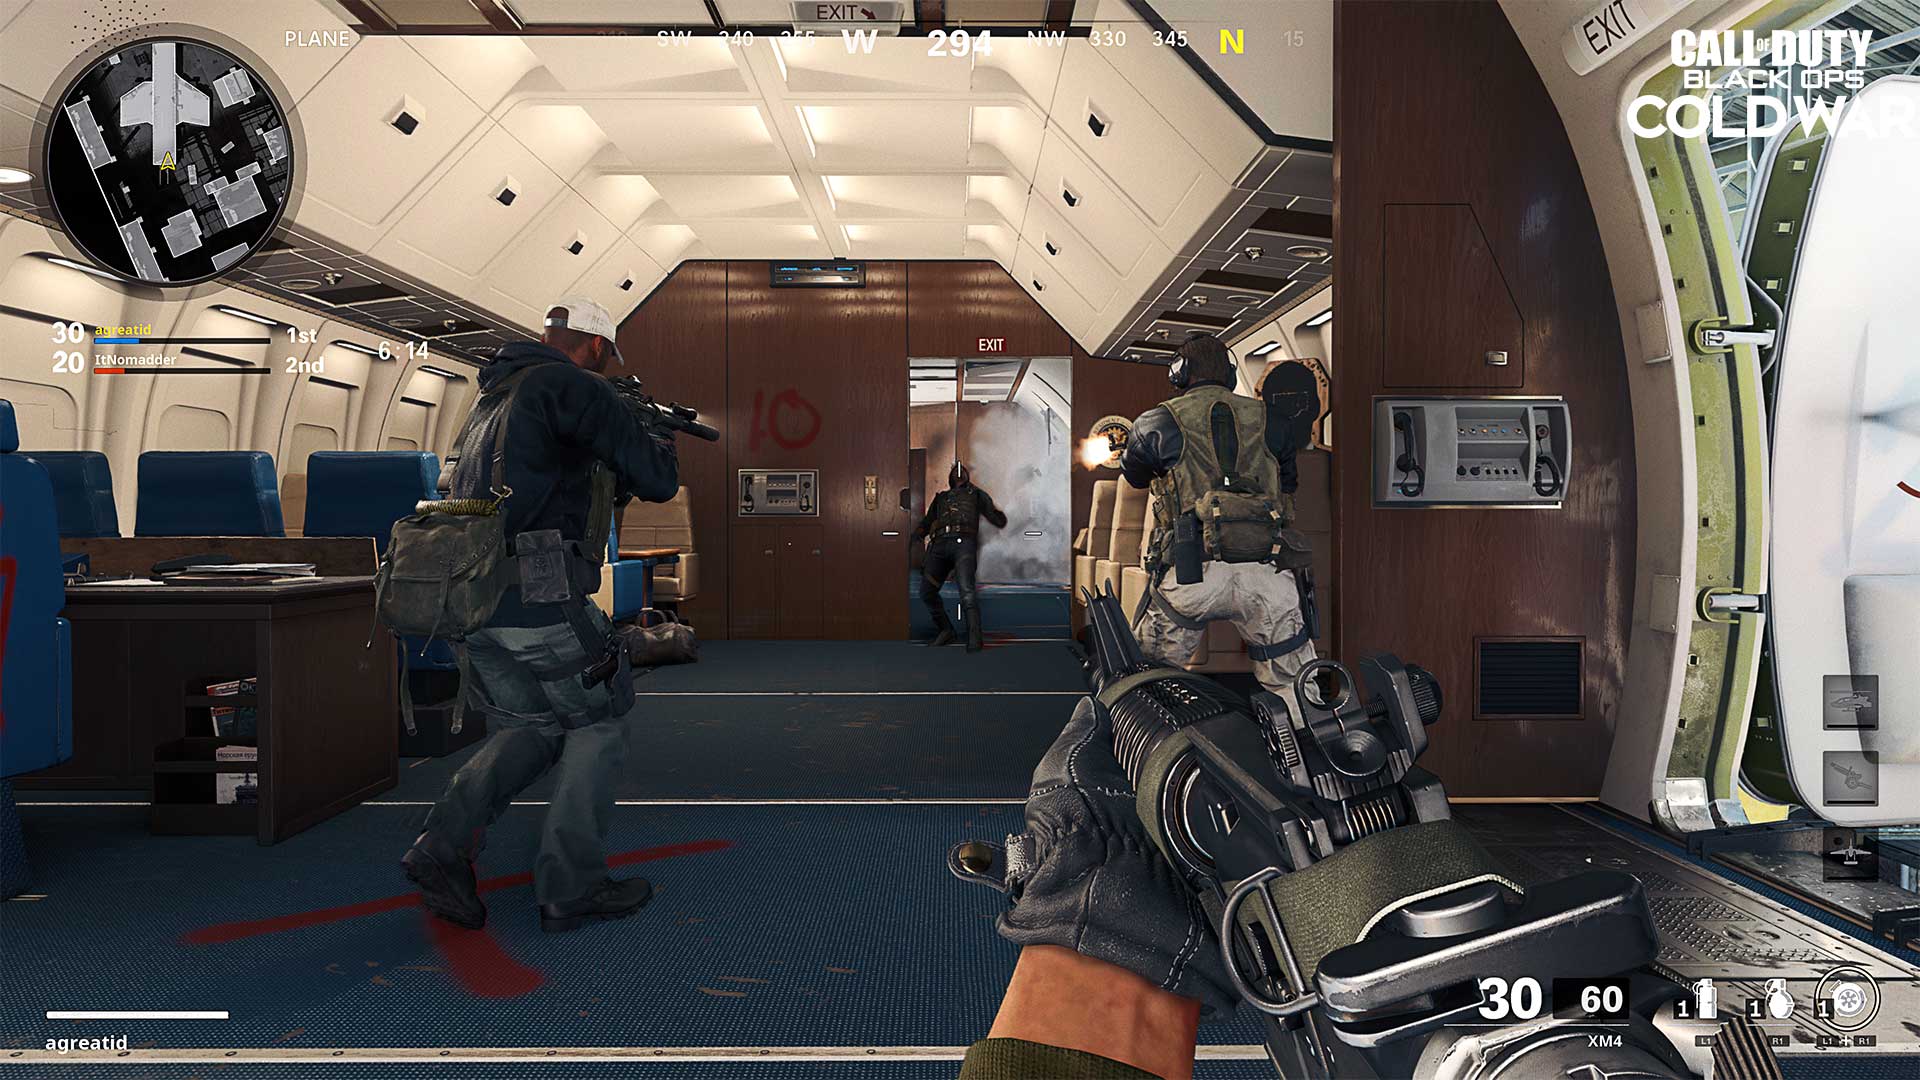
In addition to Subtitles – which can be adjusted by size and opacity – you can show or hide several HUD elements for your ideal viewing and gameplay experience.
Specifically, you can hide Hit Markers, including Damage-Based Hit Markers that display different markers depending on the type of damage inflicted, Crosshairs, Ally and Enemy Health Bars, the Horizontal Compass and Player Names, which can also be shortened. For Zombies, you can also turn off Floating Damage Numbers (shows how much damage is done to a zombie) and Zombie Names and Health Bars.
Advanced settings here include the ability to turn In-Game Alert Icons, such as that for being Disconnected and Extrapolation, on and off, Mouse Tooltips and Input Device Icons, which shows whether a player in a player list is using a Keyboard & Mouse or Controller.
Keyboard & Mouse
Should you want to use a keyboard & mouse, this menu gives you the option to switch input device and change settings associated with this input device.
Check out the PC version of this guide for a breakdown of these settings.

Account & Network
Last, but not least, this menu covers your Activision Account, Network Information and Content Filters.
The top section – Activision Account – allows you to change your Activision Display Name and Associated E-mail Address, as well as enable Cloud Save Settings, which allows you to keep all settings constant across platforms through your Activision Account. This is also where you can enable or disable Crossplay.
Following this is the ability to manage Game Installs via File Management. Go here to manage future pack installs to save hard disk drive space.
Next is Network Information, which we recommend not visiting if you are sharing your screen with a friend or a community via picture, video or stream. This shows your Connection Status, NAT Type, Bandwidth and Connection Type, and is where you can see your Geographical Region and IP Addresses (both External and Internal).
Finally, Content Filters is where you can enable and disable Graphic Content and Profanity in Text Chat. If you don't want to see Friend Request and Party Invite Notifications on your screen during a game, you can turn them off here. Furthermore, you can randomize the names of yourself and those in the lobby through two separate toggles.
That wraps up all the controls and settings within Call of Duty: Black Ops Cold War. While this guide may have helped answer a few questions, it's best to experience the game for yourself and follow in-game instructions, conveniently found below each setting within the menu. Otherwise, visit Activision Support for any further questions.
For more information on Call of Duty®: Black Ops Cold War, check out: www.callofduty.com , www.youtube.com/callofduty and follow @Treyarch, @RavenSoftware, and @CallofDuty on Twitter, Instagram, and Facebook.
© 2020 Activision Publishing, Inc. ACTIVISION, CALL OF DUTY, and CALL OF DUTY BLACK OPS are trademarks of Activision Publishing, Inc.
For more information on Activision games, follow @Activision on Twitter , Facebook , and Instagram .
Black Ops 2 Pc How to Turn Aim Assist on
Source: https://www.callofduty.com/blog/2020/11/Black-Ops-Cold-War-Controls-and-Settings-Xbox